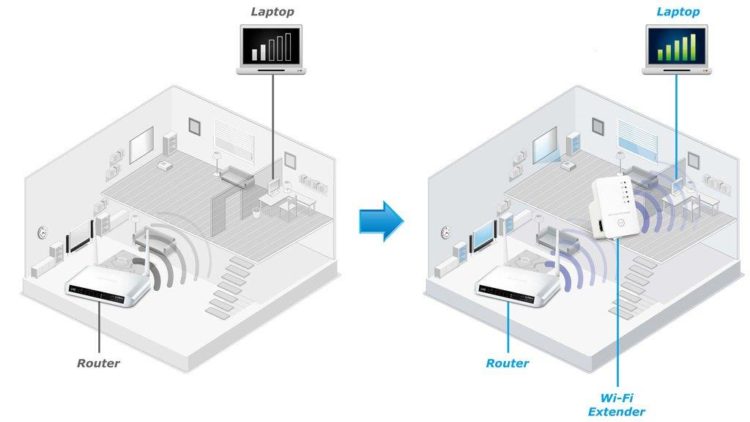
This article is for those who are getting the problem in detecting the network name of the range extender or wireless devices. This normally encounters if SSID of an extender is not broadcasting properly or extender has not booted properly.
First, reboot your extender and check if the problem is resolved or not. If the problem still persists, then check if the SSID has been broadcasted by your extender or not.
The below-mentioned steps can be implemented to check the SSID whether broadcasted or not:
- Connect your extender to the computer or laptop with the help of Ethernet cable.
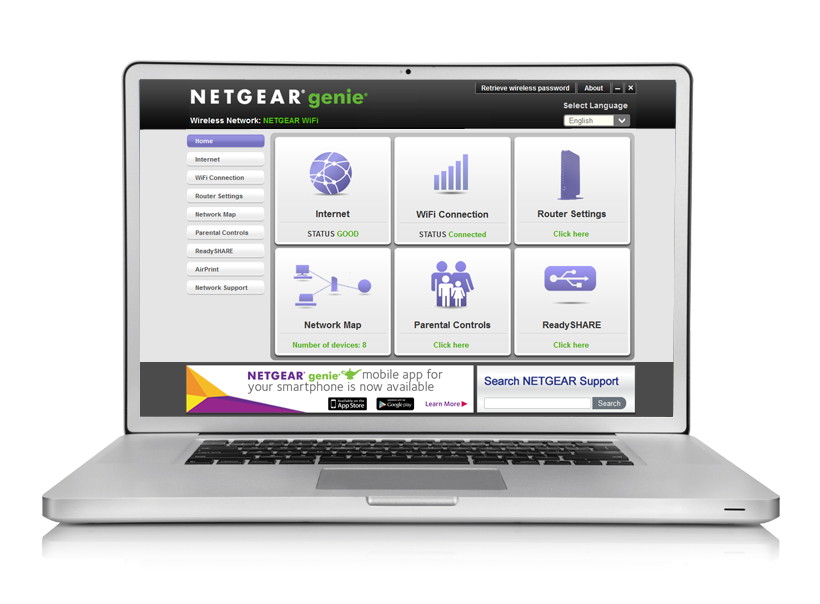
- Open the extender GUI from mywifiext.net
- If asked for the username and password, enter the name and password you have used for creating an extender account. By default, the username and password is an admin. If it is not working, then someone else might have changed your password.
- Open ‘Wi-Fi settings’ and click on ‘Enable 2.4 GHz wifi’. Check if ‘Broadcast this Network name’ is enabled or not. If not, then enable it. If you are using an older version of Netgear UI, then you can open the settings from the ‘Advanced menu’. Click to enable SSID broadcast.
- Verify the name or SSID of your extender from here and select the right SSID.
Power LED blinking
This encounters if the firmware version of the extender is corrupt or no sufficient power supply from the source.
- You must ensure that your extender is connected properly to the source.
- Reset your extender by clicking the reset button with the help of pin or paper clip. Press the button for at least 20 seconds.
- If you still find the power LED blinking, then download the latest version of software from the Netgear Download center and save it in your computer.
- After getting all the files in your PC, you need to hard reset your extender.
Note: It is recommended to perform a hard reset before performing firmware recovery.
- Connect the computer to the extender and check the valid IP address if given or not. If not, set a static IP address to the computer.
Example: IP address: 192.168.1.1.0
Subnet mask: 255.255.255.0.
Default gateway: 192.168.1.250
In DNS boxes, you can leave it as it is.
- Restart your computer.
- Once your computer gets restarted, open command prompt and try to open IP address of extender.
- If you are able to click on the IP address successfully, then proceed to the next step. If not, then it means the extender is beyond recovery.
- Run the downloaded file now.
- Type password in the password box and IP address in the server box.
- From the file section, go to ‘Browse button’ and select the latest firmware you downloaded recently.
- Click on ‘Upgrade’ button and check if the message is shown up or not.
- If you find a successful message on the screen, then change the IP address of the computer to the DHCP again.
Note: After successful completion of recovery process, you will find power LED turn green or white. If you find the LED still flashes green, then it means that firmware can’t be recovered and it should be replaced.
- Perform hard reset again and setup your extender normally. For installation and reconfiguration of the extender, click on the link ‘Setting up Netgear range extender’.
www mywifiext net setup | mywifiext net | www mywifiext net setup wizard